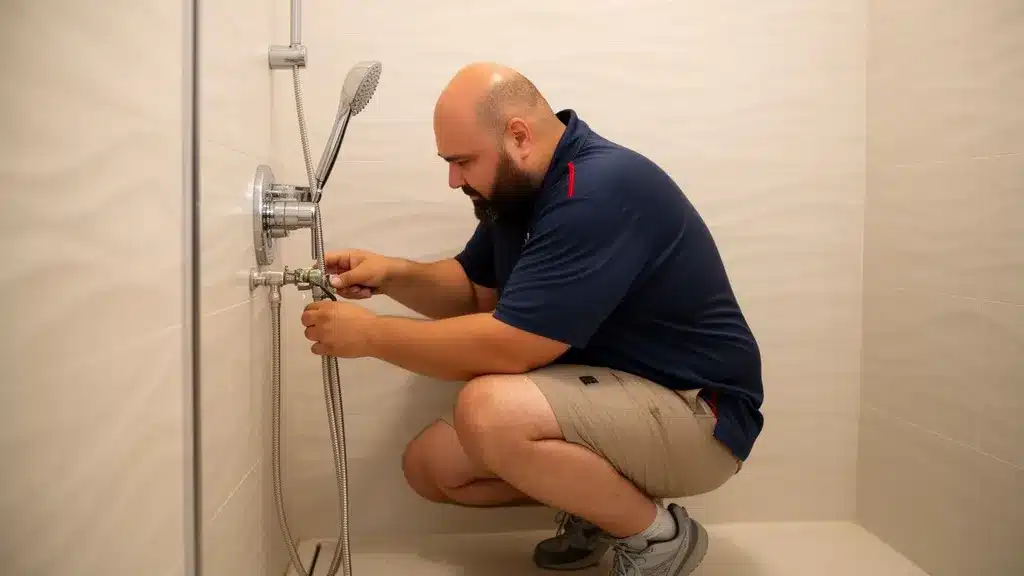
Switching from your fixed shower head to a handheld wand should be seamless, but many Sydney homeowners notice water dripping from the main head, hose connections, or even the diverter itself the moment they flip the lever. This common bathroom plumbing issue wastes water, drives up bills, and can lead to hidden moisture damage behind tiles if left unresolved. Understanding the root cause—whether it’s a worn diverter valve, degraded washers, or a failing cartridge—helps you decide between a quick DIY repair and calling a licensed plumber for a permanent fix.
In this guide, we’ll walk you through the most frequent reasons your shower leaks when switching to handheld wand, show you simple fixes you can try today, and explain when professional diagnosis and replacement are the safest, most cost-effective choice. You’ll also learn how everyday accessories like a shower caddy or heavy handheld shower heads from retailers such as Bunnings can strain connections and create new leaks over time.
Key Takeaways
- A worn diverter valve is the most common reason your shower leaks when switching to a handheld wand.
- Degraded O-rings and washers at hose connections often cause drips that tightening alone won’t fix.
- Failing valve cartridges allow water to bypass both outlets, leaving you with continuous dripping.
- Heavier handheld shower heads and accessories can loosen threaded joints and strain the shower arm.
- Unresolved leaks raise humidity, encouraging mold growth and water damage behind walls.
- Same-day service from a licensed Sydney plumber saves time and prevents costly repairs down the track.
Why Your Shower Leaks When Switching to a Handheld Wand

When you turn the diverter to send water to your handheld wand, the valve inside is meant to block flow to the fixed head completely. If the diverter seal has worn down or internal parts have corroded, water escapes through both outlets at once. Sydney’s hard water and mineral buildup accelerate wear on these small rubber and plastic components, especially in older bathroom fittings that have seen years of daily use.
Another frequent culprit is the connection between the flexible hose and the shower arm or handheld unit. Over time, the rubber washer inside each threaded collar compresses and hardens, creating tiny gaps that let water seep out under pressure. Even a brand-new handheld shower head can leak if the washer wasn’t seated properly during installation or if you overtightened the nut and pinched the seal.
Worn Diverter Valve
The diverter valve sits inside your shower wall or on the shower arm itself, depending on your setup. When you pull the lever or twist the knob, a small piston or gate moves to redirect water flow. After thousands of cycles, the rubber seal on that piston degrades, allowing water to leak past and drip from the fixed head even when the wand is active. Replacing the diverter cartridge or the entire diverter assembly usually solves the problem permanently.
Degraded O-Rings and Washers
Every threaded connection in your shower system relies on a small rubber washer or O-ring to form a watertight seal. Exposure to hot water, soap residue, and chlorine in Sydney’s water supply causes these washers to shrink, crack, or lose their flexibility. Once that happens, no amount of tightening will stop the drip—you need to replace the washer with a fresh one that matches the size and material specified by the manufacturer.
Failing Valve Cartridge
If water continues to drip from both the fixed head and the handheld wand even when the tap is fully closed, the main mixing valve cartridge inside your wall may be worn out. This cartridge controls both temperature and flow, and internal wear can prevent it from shutting off completely. Replacing a cartridge requires removing the trim, handle, and retaining clip, so many homeowners prefer to have a licensed plumber complete the job to avoid damaging surrounding tiles or the valve body.
Loose or Cracked Hose
Flexible shower hoses flex and twist every time you use the wand, and over time the internal rubber liner can develop hairline cracks near the fittings. You might also notice the threaded collar has worked loose, especially if the hose hangs freely without a bracket to support its weight. Inspecting the hose under good light and running your fingers along its length helps you spot bulges, kinks, or wet spots that signal a replacement is due.
Mineral Buildup and Debris
Hard water deposits can clog the small ports inside your diverter valve or handheld faceplate, forcing water to back up and escape through any available gap. If you’ve noticed reduced pressure or uneven spray patterns alongside the leak, mineral buildup is likely part of the issue. Soaking removable parts in white vinegar overnight dissolves most calcium and lime scale, restoring proper flow and reducing stress on seals.
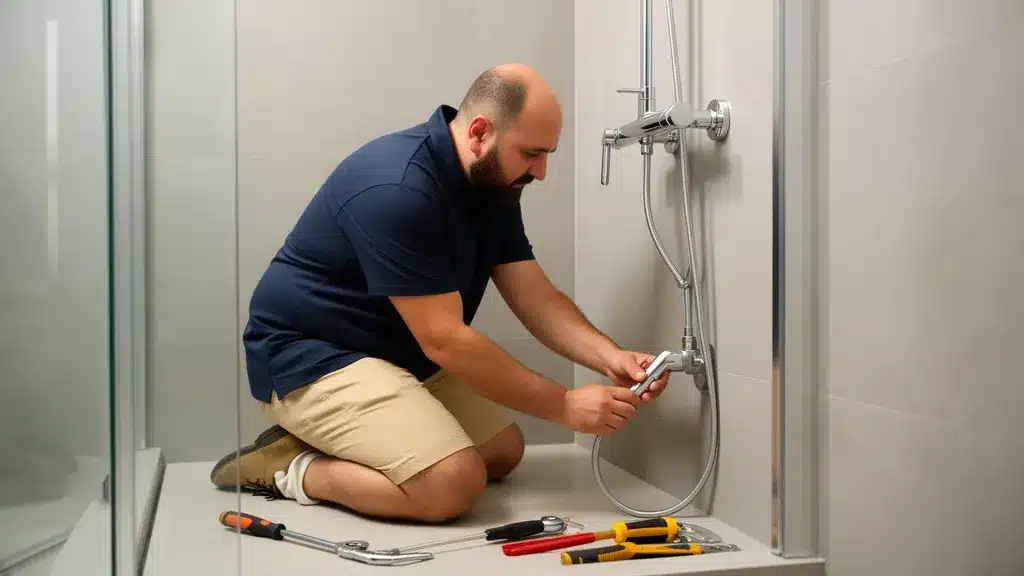
Quick DIY Fixes You Can Try Today
Before calling a plumber, a few simple checks and low-cost part swaps can stop minor leaks and save you time. These repairs require only basic hand tools—an adjustable spanner, a roll of thread seal tape, and a small set of replacement washers from your local hardware store. Always turn off the water supply at the shower isolator or mains before loosening any fittings to avoid a sudden spray.
Start by inspecting each connection point for visible cracks, corrosion, or loose threads. Tighten gently by hand first, then use a spanner for a final quarter-turn—overtightening can crush the washer and make the leak worse. If tightening doesn’t help, disassemble the connection, check the washer, and apply fresh thread seal tape in a clockwise direction before reassembling.
1. Tighten Loose Hose Connections
Grip the collar where the hose meets the shower arm and turn it clockwise until snug. If water still seeps out, unscrew the collar completely, inspect the rubber washer inside, and replace it if you see cracks or flattening. Wrap two or three layers of thread seal tape around the shower arm threads before screwing the hose back on to improve the seal.
2. Replace Washers and O-Rings
Take the old washer to Bunnings or your nearest plumbing supplier to match the size and thickness. Most handheld shower heads use a standard 12 mm or 15 mm washer, but checking ensures a proper fit. Slide the new washer into the hose collar, press it flat with your thumb, and reconnect the hose—avoid using excessive force, as rubber seals compress slightly under normal pressure.
3. Clean the Diverter and Faceplate
Remove the handheld unit and soak it in a bowl of white vinegar for two hours to dissolve mineral deposits. Use a toothpick or small brush to clear any blocked spray holes. If your diverter is accessible—often a small knob or lever on the shower arm—unscrew the cap and rinse the internal parts under running water to flush out debris.
4. Check for Cracks in the Hose
Run the shower and carefully bend the hose at several points while watching for water spraying from the surface. Cracks usually appear near the threaded ends where flexing is most intense. If you spot a leak mid-hose, replacement is the only reliable fix—patch tape and sealants rarely hold up under constant water pressure and temperature swings.
5. Apply Thread Seal Tape Correctly
Wrap the tape clockwise so it doesn’t unravel when you screw the fitting on. Two to three wraps are enough for most shower connections—too much tape can prevent the threads from engaging fully and cause the joint to loosen over time. Smooth the tape with your finger to help it stick to the threads before assembly.
When to Call a Licensed Sydney Plumber
If tightening connections and swapping washers don’t stop the leak, the problem likely sits inside your wall cavity or valve body. Attempting to replace a diverter cartridge or mixing valve without the right tools and knowledge can crack tiles, strip threads, or flood the space behind your shower. A licensed plumber has the diagnostic equipment, replacement parts, and experience to pinpoint the fault and complete the repair in a single visit.
You should also call a professional if you notice water stains on the ceiling below your bathroom, a musty smell near the shower, or a sudden drop in water pressure. These signs suggest a hidden leak that has been active for some time, and early intervention prevents structural damage, mold remediation costs, and insurance headaches.
Diverter Valve Replacement
Replacing a diverter valve involves removing the trim plate, unscrewing the old cartridge, and installing a new one that matches your valve brand and model. Our team carries common diverter cartridges on every van, so we can often complete the job the same day without waiting for parts to arrive. We test the repair under full pressure before we leave to confirm both the fixed head and handheld wand operate without leaks.
Cartridge and Valve Repairs
Mixing valve cartridges control temperature and flow for your entire shower, and replacing them requires shutting off the water supply, removing the handle and trim, and carefully extracting the cartridge without damaging the valve body. We use genuine or equivalent cartridges that meet Australian Standards and back the installation with a lifetime labour warranty, so you have peace of mind long after the repair is complete.
Concealed Leak Detection
If your bathroom floor feels spongy or you see discoloration on the wall adjacent to the shower, moisture may be escaping through a failed seal or cracked pipe behind the tiles. We use acoustic leak detection and thermal imaging to locate the source without unnecessary demolition, then recommend the most cost-effective repair—whether that’s resealing, re-grouting, or replacing a section of pipe.
Full Shower Upgrade
Older shower systems with corroded valves, mismatched fittings, and outdated diverters often benefit from a complete upgrade rather than piecemeal repairs. We can supply and install modern thermostatic mixers, quality handheld shower heads, and durable hoses that comply with AS/NZS 3500 plumbing standards. Upgrading also gives you the chance to improve water pressure, add features like pause buttons or massage settings, and choose finishes that match your bathroom renovation plans.
How Accessories and Heavy Handheld Shower Heads Cause Leaks
Adding a shower caddy, installing a larger handheld unit, or hanging multiple accessories from the shower arm increases the load on threaded joints and wall brackets. Over time, this extra weight can loosen the connection between the arm and the wall elbow, creating a slow leak that drips inside the cavity. Sydney homes with older plaster walls or lightweight tile backing are especially vulnerable to movement and loosening under load.
| Accessory Type | Common Leak Risk | Prevention Tip |
|---|---|---|
| Shower Caddy | Excess weight loosens shower arm threads | Use suction or adhesive caddies instead of hanging types |
| Heavy Handheld Shower Heads | Strain on hose collar and wall elbow | Install a support bracket and check threads every six months |
| Shower Steamers | Increased humidity accelerates washer degradation | Ensure good ventilation and replace washers annually |
| Multiple Hose Extensions | More connection points mean more potential leak sites | Use a single, quality hose of the correct length |
Heavy handheld shower heads sold at retailers like Bunnings often weigh more than the basic models your shower arm was designed to support. If you’ve recently upgraded to a multi-function wand with metal construction and larger spray plates, check that the shower arm is securely anchored and consider adding a support bracket to distribute the weight. Reinforcing the arm now prevents leaks and avoids the cost of repairing water-damaged plasterboard later.
Preventing Future Leaks and Moisture Damage
Regular maintenance keeps your shower system reliable and helps you catch small issues before they become expensive repairs. Inspect hose connections, diverter operation, and spray patterns every few months, and replace washers at the first sign of hardening or cracking. Good bathroom ventilation—either through an exhaust fan or open window—reduces humidity and slows the degradation of rubber seals and metal fittings.
- Check washers and O-rings twice a year: Replace any that feel hard, cracked, or compressed to maintain watertight seals.
- Clean mineral deposits regularly: Soak removable parts in white vinegar every few months to prevent buildup that stresses seals and clogs spray holes.
- Support heavy handheld units: Install a wall bracket or holder to take weight off the hose and shower arm threads.
- Run the exhaust fan during and after showers: Reducing humidity protects rubber components and prevents mold growth behind tiles.
- Tighten connections gently: Overtightening crushes washers and can crack plastic fittings—hand-tight plus a quarter-turn is usually enough.
Avoid using excessive force when switching between the fixed head and handheld wand, as rough handling can damage the diverter mechanism. If you notice stiffness or grinding when you operate the lever, a small amount of silicone grease on the moving parts can restore smooth action and extend the life of the valve.
Common Mistakes That Make Leaks Worse
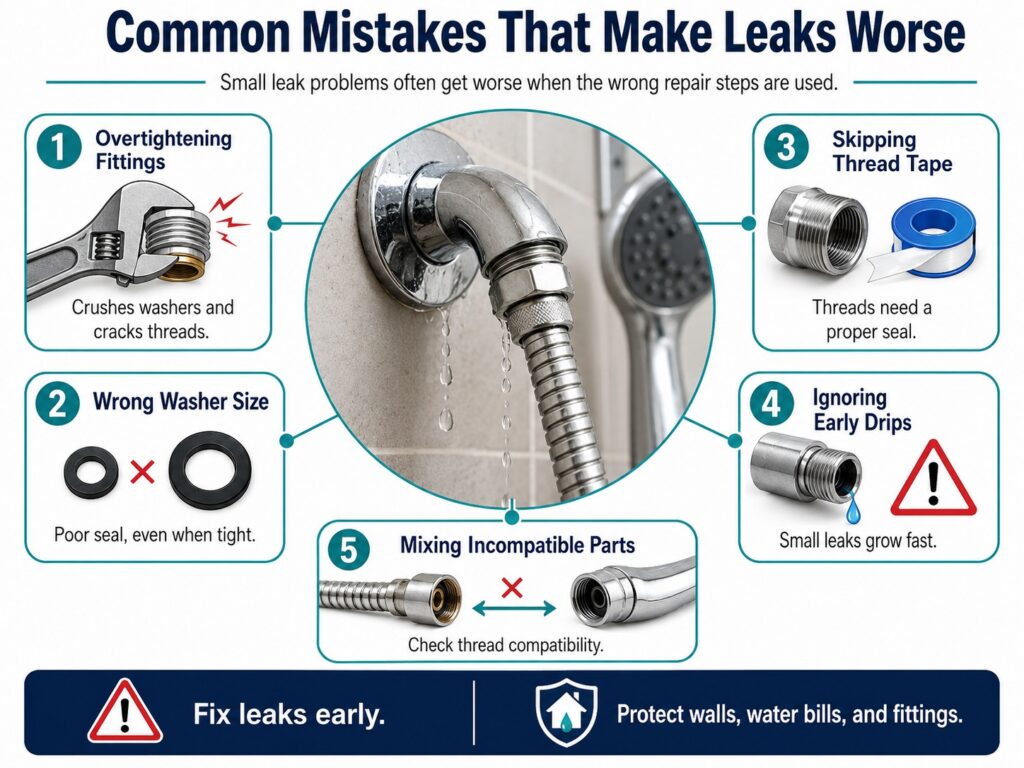
Many homeowners try to stop a leak by tightening the hose connection as hard as possible, only to crush the washer and create a bigger gap. Others wrap excessive thread seal tape around the threads, preventing the fitting from seating properly and leaving the joint loose. Using the wrong size washer—even if it’s only a millimeter off—can also result in a poor seal that leaks under pressure.
- Overtightening fittings: Excessive force crushes washers and can crack plastic threads, making the leak worse.
- Using the wrong washer size: A washer that’s too small or too large won’t seal properly, no matter how tight you screw the fitting.
- Skipping thread seal tape: Metal-to-metal threads need tape or pipe dope to create a watertight seal—relying on the washer alone often fails.
- Ignoring early warning signs: A small drip today can become a major leak tomorrow, especially if the washer continues to degrade.
- Mixing incompatible parts: Not all handheld shower heads and hoses use the same thread standard—check compatibility before purchasing replacements.
Another frequent mistake is ignoring a small drip in the hope it will go away on its own. Even a slow leak wastes hundreds of liters per month and creates a damp environment that encourages mold growth and timber rot behind your bathroom walls. Addressing leaks promptly keeps your water bills in check and protects your home from structural damage that costs thousands to remediate.
Get Expert Help for Shower Leaks Today
If your shower leaks when switching to a handheld wand and simple DIY fixes haven’t solved the problem, it’s time to call a licensed plumber who can diagnose the root cause and deliver a lasting repair. Our team at Antons Plumbing & Gas brings more than 25 years of hands-on experience to every job, from quick washer replacements to full valve overhauls and bathroom upgrades. We arrive on time, work cleanly, and explain every step in plain English so you understand exactly what’s happening and why.
Don’t let a small leak turn into a big repair bill. Call us on 0493 824 176 for same-day service across the Sydney Metro, or book online at your convenience. We’ll inspect your shower system, provide upfront fixed-rate pricing, and complete the repair with quality parts backed by our lifetime labour warranty—because great plumbing is about more than pipes and parts, it’s about people you can trust.
Conclusion
A shower that leaks when you switch to a handheld wand signals worn diverters, degraded washers, or failing cartridges that need attention before moisture causes hidden damage. Simple fixes like tightening connections and replacing seals work for minor drips, but persistent leaks require professional diagnosis and quality parts to deliver a permanent solution. Same-day service from a licensed Sydney plumber protects your home, saves water, and gives you peace of mind that the job is done right.
Antons Plumbing & Gas fixes shower leaks across Sydney Metro with same-day leak detection and tap repairs. Our licensed plumbers diagnose diverter faults fast with upfront pricing. Call 0493 824 176 to get started today.
Related Articles
- Move Toilet Seat Forward: Simple Fixes for Better Comfort
- Chlorinated Water and Copper PEX Pipes: What Homeowners Should Know
- What to Do When a Garbage Disposal Drain Is Too Low
FAQs
What Causes A Shower To Leak When Using A Handheld Wand?
Shower leaks when using a handheld wand can occur due to several reasons, including worn-out washers, loose connections, or damaged seals. Over time, these components can degrade, leading to water escaping when the handheld shower is in use. Our experienced plumbers can quickly diagnose the issue and recommend the best solution to restore your shower’s functionality.
How Do I Fix A Leaking Handheld Shower Head?
To fix a leaking handheld shower head, first, ensure all connections are tightened. If the leak persists, check for damaged washers or O-rings and replace them if necessary. If you’re unsure or the problem continues, our qualified team at Antons Plumbing & Gas can provide expert repairs to stop the leak and ensure your shower operates efficiently.
Is It Normal For A Handheld Shower To Leak?
While minor leaks can occasionally happen due to normal wear and tear, a consistently leaking handheld shower is not considered normal. Persistent leaks can indicate a more significant issue that requires attention. Our licensed plumbers can assess your shower and provide tailored solutions to prevent further water loss.
Can A Faulty Shower Valve Cause Leaks With A Handheld Wand?
Yes, a faulty shower valve can cause leaks when using a handheld wand. If the valve is not functioning correctly, it may allow water to escape inappropriately. Our team has the expertise to inspect and repair or replace faulty valves to ensure your shower operates smoothly and without leaks.
What Are The Common Issues With Handheld Shower Leaks?
Common issues with handheld shower leaks include worn washers, loose fittings, damaged hoses, and faulty shower valves. Identifying the root cause is essential for effective repair. With over 25 years of experience, Antons Plumbing & Gas can help diagnose and fix any leak issues efficiently, ensuring your shower is back to optimal condition.